10 Essential Event Load-In Checklist Items
Last Updated: October 25, 2026
Quick Summary
An event load-in checklist is a structured plan that coordinates venue access, vendor arrival, equipment setup, and safety checks during the critical window before guests arrive. A solid checklist prevents delays, equipment failures, and safety hazards by assigning clear roles, building dependencies into your timeline, and confirming every vendor and task before load-in begins.
- Contact your venue at least two weeks before to confirm loading dock location, freight elevator availability, parking, and any permit requirements.
- Build your load-in schedule backward from doors-open time using four checkpoint gates: Access, Unload, Placement, and Ready.
- Map all power circuits before plugging in equipment to avoid overloading a single circuit and tripping breakers during your event.
- Assign specific people to every role and require sign-off as each vendor arrives and each equipment category is tested.
- Do a full walkthrough before guests arrive to catch tripping hazards, confirm sightlines, and verify all equipment is working.
Table of Contents
- Why Your Event Load-In Checklist Matters
- Venue Access and Site Logistics
- Creating Your Event Load-In Schedule Template
- Building Your Event Vendor Checklist
- Your Event Setup Checklist: Power, Safety, and Equipment
- Room Layout and Floor Plan Setup
- Event Load-Out Checklist and Strike Planning
- Common Load-In Mistakes to Avoid
- Ready to Plan Your Event Load-In
- Frequently Asked Questions
Why Your Event Load-In Checklist Matters
A solid event load-in checklist is the difference between a smooth setup and chaos. Load-in is the window when your team, vendors, and equipment arrive at the venue. It's often tight, sometimes just two or three hours. Everything that happens during load-in sets the tone for the entire event.
At Photobooth NYC, we've run over 100 events a year across Manhattan, Brooklyn, Queens, Staten Island, and Long Island. That means we've learned what works during load-in and what doesn't. A missing cable, an unclear role assignment, or a vendor who doesn't know where to go can derail your whole timeline.
This guide covers the 10 essential items every event load-in checklist should include. We'll walk you through venue logistics, vendor coordination, equipment safety, and the specific details that prevent problems on the day of your event.
Venue Access and Site Logistics
Your venue is the foundation. Before anyone arrives, you need to know exactly how equipment gets in and where it goes.
Loading dock and freight elevator scheduling
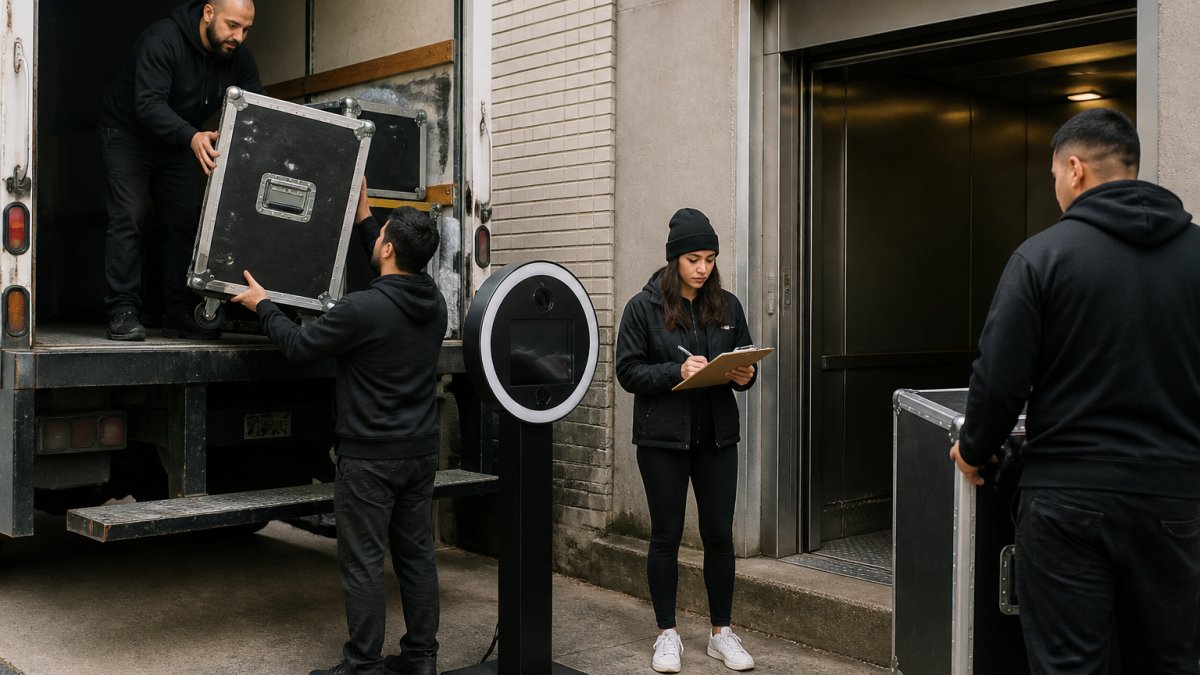
Start here: contact your venue at least two weeks before the event. Ask for the exact loading dock location, size, and availability during your load-in window. Some venues require advance scheduling for freight elevators. Others have docks that are first-come, first-served.
Create a simple log:
- Dock location and dimensions
- Freight elevator size and availability
- Hours the dock is accessible
- Any restrictions on truck size or parking
If your venue has a freight elevator, reserve it in writing. Many buildings in Manhattan and Brooklyn have elevators that serve multiple tenants. You don't want to arrive and find it's booked for another event.
For multi-day corporate events, ask about strike timing too. Some venues charge extra if you're still loading out after a certain time.
Parking and vehicle access
Parking is often the first problem. Ask your venue:
- Where can delivery trucks park?
- Is there street parking nearby?
- Do you need a loading permit?
- Are there time limits on parking?
In Manhattan and Brooklyn, many venues are on tight streets with no dedicated loading zones. You may need to arrange a temporary loading permit or coordinate with the venue to hold a spot. Some properties charge for this.
For your event load-in schedule template, note:
- Truck arrival time
- Parking location
- Permit number (if required)
- Contact for parking enforcement in case of issues
Creating Your Event Load-In Schedule Template
Time is your scarcest resource during load-in, and a schedule that only lists start times will fail you. What separates a working event load-in schedule template from a wish list is the dependency chain: which tasks cannot begin until another is signed off, who owns each gate, and how much buffer sits between them.
Build the schedule backward from doors-open, not forward from arrival. If doors open at 6:00 p.m., the final walkthrough must finish by 5:30 p.m., which means all equipment must be placed and tested by 5:00 p.m., which means the last vendor must be unloaded by 4:30 p.m. Working backward forces you to confront the real constraint: the venue's load-in window, not your optimism.
The four checkpoint gates
Structure the schedule around four gates. Nothing moves to the next gate until the prior one is signed off by a named owner.
- Access gate, dock or curb secured, freight elevator reserved and confirmed, doors unlocked, COI on file with the venue. Owner: venue coordinator.
- Unload gate, all equipment off the truck and staged in the venue, nothing left on the street, elevator cycles counted. Owner: production manager.
- Placement gate, tables, AV, photo booth, and catering stations in final position per the floor plan, power confirmed at each station. Owner: event lead.
- Ready gate, every station tested, cables taped, exits clear, final walkthrough complete. Owner: event lead with safety sign-off.
A dependency-aware template
| Task | Start | Duration | Depends on | Owner | Sign-off |
|---|---|---|---|---|---|
| Dock access confirmed | 1:45 p.m. | 15 min | Venue unlock | Venue coordinator | Initial |
| Unload truck | 2:00 p.m. | 30 min | Access gate | Production manager | Initial |
| Freight elevator cycles | 2:30 p.m. | 20 min | Unload gate | Production manager | Initial |
| Tables and chairs placed | 2:50 p.m. | 25 min | Placement gate | Venue staff | Initial |
| Power run and tested | 3:15 p.m. | 30 min | Tables placed | Tech lead | Initial |
| Photo booth set and tested | 3:45 p.m. | 30 min | Power confirmed | Booth team | Initial |
| Catering and bar setup | 3:45 p.m. | 45 min | Power confirmed | Caterer | Initial |
| Final walkthrough | 5:00 p.m. | 30 min | All stations ready | Event lead | Initial |
| Doors open | 6:00 p.m. | , | Ready gate | All staff | , |
Buffer planning that actually holds
Add buffer at the gates, not between every task. A common pattern is 15 minutes after unload, 15 minutes after placement, and 30 minutes before the ready gate. Buffers placed at gates absorb the small overruns that always happen, a stuck elevator, a missing cable, a caterer running late, without cascading into doors-open.
Share, confirm, and re-send
Send the schedule to every vendor at least one week out, then again the day before with a one-line confirmation request: "Reply with your arrival time and the name of your on-site lead." People forget, and a schedule nobody confirmed is a schedule nobody follows. Keep the sign-off column live during load-in, it doubles as your record if a vendor disputes timing later.
Building Your Event Vendor Checklist
Vendors make your event happen. A clear event vendor checklist ensures they arrive on time, know where to set up, and understand what success looks like.
Pre-load-in vendor communication
Send every vendor, caterers, entertainment, photo booth operators, AV teams, a vendor packet two weeks before the event. Include:
- Exact venue address with cross streets
- Load-in start and end times
- Parking instructions and any permit numbers
- Point of contact (your name and phone number)
- Detailed setup location (which room, which corner, which wall)
- Power and connectivity requirements
- Load-out deadline
For a corporate event or wedding in Manhattan, include:
- Building name and suite number
- Elevator access and any restrictions
- Whether the venue requires proof of insurance or certificates of insurance (COI)
- Any vendor check-in procedures
Two days before, send a reminder email. Include the same information. Add a request for confirmation: "Please reply to confirm your arrival time."
Role assignments and task ownership
On your event load-in checklist, list every role and the person filling it. Use a photo booth rental planning guide to learn how to plan vendor communication and role assignments for seamless load-in. Example:
- Event Lead: Overall timeline and problem-solving. Decides what to prioritize if something goes wrong.
- Production Manager: Equipment setup, power, safety checks. Stays on-site throughout load-in.
- Venue Coordinator: Communicates with building staff, unlocks doors, confirms dock access.
- Vendor Check-In: Greets each vendor, directs them to setup area, confirms their needs.
- Safety Officer: Checks cables, confirms emergency exits, ensures no tripping hazards.
Assign specific people. Not "someone will handle check-in", "Sarah handles check-in." People take ownership when their name is on the list.
Create a simple sign-off sheet. As each vendor arrives, they initial it. This creates a record and confirms everyone showed up.
Your Event Setup Checklist: Power, Safety, and Equipment
Equipment failures kill events, and most of them trace back to power and cable decisions made in the first 20 minutes of load-in. Review a premium booth rental checklist to see how to handle power, safety, and equipment setup for polished events. A thorough event setup checklist treats power, cable management, and equipment safety as one connected system, not three separate line items.
Power: map it before you plug in
Before anything else, walk the venue with your tech lead and build a power map. Sketch every outlet you intend to use on the floor plan and note three things for each: circuit rating (most standard US wall outlets are 15-amp; some commercial venues provide 20-amp circuits), what else is already on that circuit, and the cable distance to your equipment.
The goal is to spread load across circuits. A common mistake is plugging a photo booth, a DJ rig, and a catering warmer into the same wall, that combination can trip a breaker mid-event. Assign each high-draw item its own circuit where possible, and confirm with the venue which breakers control which outlets so you know exactly what to reset if something trips.
Cable management: tape, label, and route
Loose cable is both a liability and a setup time sink. Run cables along walls and under carpet edges wherever possible, tape every floor crossing with gaffer tape (not duct tape, it leaves residue on venue floors), and label both ends of every cable with painter's tape and a marker. Labeling takes two minutes during setup and saves ten during strike when the crew is tired.
Bring cords longer than you think you need. A 25-foot cord gives you routing options a 10-foot cord does not, and the extra length coils neatly out of the way. Keep a small cable kit, gaffer tape, zip ties, a spare power strip, and a label maker or marker, in one bag that travels with the production manager.
Equipment safety and functionality checks
Test every piece of equipment before guests arrive, and have a named person sign off on each category. For a photo booth, that means confirming the camera powers on and focuses, the printer is loaded, the software runs without errors, the backdrop is secured so it cannot fall, props are organized, and the station is positioned so guests can queue without blocking traffic. For audio-visual, confirm microphones work without feedback, screens display correctly, and audio routes to the right speakers.
For all equipment, run a safety sweep: cables secured, no trip hazards, emergency exits clear, fire extinguisher accessible and unobstructed, and nothing stacked in front of a door or panel. Walk the room as a guest would and look for anything that could catch a heel or a hem.
Rigging and overhead checks
Anything mounted overhead, backdrops, signage, screens, needs a stability check before doors. Confirm stands are weighted, clamps are tight, and nothing overhangs a walkway. If the venue requires rigging to be approved by building staff, get that sign-off during load-in, not after guests arrive.
The sign-off sheet
Keep a one-page setup checklist with columns for item, owner, and initial. As each category is tested, the owner initials it. This creates accountability and gives you a written record if something fails later. It also makes handoff between crew shifts clean, the next person knows exactly what has and has not been verified.
Room Layout and Floor Plan Setup
Your room layout determines traffic flow. A poor layout creates bottlenecks. A good layout spreads guests across the space.
Work with your venue to get a floor plan. Mark:
- Entrance and exit points
- Emergency exits
- Bathrooms
- Bar or catering stations
- Entertainment (photo booth, DJ, band)
- Seating areas
Photo booths work best when they're visible from the entrance but not blocking traffic. A corner location or against a wall is ideal. If the photo booth is in the middle of the room, guests will crowd it and create a jam. When you're planning your room layout, consider whether you want a Standard Photo Booth Package, a Premium Photo Booth Package with pro camera and studio lighting, or a Signature Photo Booth Package with dual-printer capability, each has different footprint and power requirements, so knowing your choice early helps you position the booth correctly during load-in.
For corporate events, consider lead capture. Where will guests check in? Where will they provide their contact information? Make sure this area is separate from heavy traffic so people can fill out forms without being jostled.
Walk the room during load-in. Stand where guests will stand. Look for sightlines. Can people see the photo booth from across the room? Can they see the bar? Can they move between areas without squeezing?
Make adjustments during load-in. Move a table. Reposition a backdrop. This is your last chance to get it right.
Event Load-Out Checklist and Strike Planning
Load-out is the flip side of load-in. What goes in must come out.
Create an event load-out checklist that mirrors your load-in. List every piece of equipment and where it will be stored during strike. Assign responsibility:
- Who breaks down the photo booth?
- Who collects props and backdrops?
- Who coils cables?
- Who sweeps the area?
- Who does the final walkthrough?
Set a strike deadline. Communicate it to every vendor. If your event ends at 10 p.m., strike might be 10-11 p.m. After 11 p.m., you may owe the venue overtime.
For photo booth operators, strike includes:
- Powering down equipment safely
- Packing prints and props
- Removing backdrop and stands
- Coiling and storing cables
- Confirming the space is clean and empty
Assign one person to do a final walkthrough. Check corners, closets, and behind furniture. Forgotten items become the venue's problem and damage your reputation.
Common Load-In Mistakes to Avoid
Starting too late. Load-in always takes longer than expected. If your event starts at 6 p.m., don't plan to load in at 4:45 p.m. Aim for 2-3 hours before doors open. This gives you time to solve problems.
Unclear role assignments. If everyone thinks someone else is handling power, no one handles it. Name specific people and confirm they know.
Forgetting venue requirements. Many venues require proof of insurance or certificates of insurance before you unload. Ask about this during your first call. Get it in writing.
No contingency plan. What happens if a vendor is late? What if equipment doesn't work? Have a backup plan.
Skipping the walkthrough. Do a full walkthrough before guests arrive. You'll catch problems you missed during setup. A tripping hazard. A backdrop that's crooked. A sign pointing to the wrong bathroom.
Overloading one circuit. If all your equipment plugs into the same outlet, you'll blow a breaker. Spread the load. Ask the venue about circuit capacity.
Leaving cables loose. Tape them down. Label them. A guest tripping over a cable and falling is a liability. A guest tripping and unplugging your photo booth is a ruined event.
Ready to Plan Your Event Load-In
A solid event load-in checklist is the foundation of a successful event. Explore how to plan a successful product launch event with proper load-in logistics and setup. It keeps your team coordinated, vendors aligned, and equipment safe. It also protects you. When something goes wrong, and something always does, a clear checklist shows you were prepared.
For events in Manhattan, Brooklyn, Queens, Staten Island, and Long Island, load-in logistics matter even more. Tight loading docks, freight elevator scheduling, and parking permits add complexity. Building in extra time and communicating clearly with your venue makes the difference.
If you're planning an event that includes a photo booth, we can help. Photobooth NYC offers Corporate Event Photo Booth Rental, Wedding Photo Booth Rental NYC, and Branded Photo Booth for Brand Activations, all with a trained attendant on site all night. Our team has 20 years of live event production experience, so we understand how to work inside strict venue load-in windows. We arrive on schedule, set up efficiently, and stay on-site all night with a trained attendant.
Check availability for your date and let us know about your venue and timeline. We'll walk you through the logistics and make sure your photo booth is ready when your guests arrive.
Frequently Asked Questions
What should be included in an event load-in checklist?
Your event load-in checklist should cover venue access (dock scheduling, parking, elevator availability), vendor arrival times and contact information, equipment setup and safety checks, power and cable routing, room layout confirmation, staff role assignments, and a timeline with buffer time between each phase. For photo booth rentals, include backdrop setup confirmation. A complete checklist prevents equipment delays, ensures all vendors arrive in the correct sequence, and catches safety issues before guests arrive.
How do you plan an event load-in schedule template?
Start with your event start time and work backward. Allocate 2-4 hours for full setup depending on event size and complexity. Block time for each vendor in order of dependency: structural setup first (tables, staging), then utilities (power, internet), then entertainment equipment (DJ, photo booth, AV), and finally décor and final touches. Build in 15-30 minute buffers between phases. Confirm dock access windows, parking availability, and freight elevator reservations with your venue weeks in advance. Share the schedule with all vendors at least one week prior so they can commit to their arrival window.
What information should vendors receive before load-in?
Send vendors a detailed pre-event brief including the load-in date, exact time window, venue address, parking instructions, loading dock details, contact person on-site, equipment restrictions (weight limits, ceiling height, power capacity), weather contingencies, and a site map showing setup locations. For photo booth vendors, specify backdrop placement, power outlet locations, internet requirements, and any branding or template customization needed. Confirm they have your event coordinator's phone number and know who to contact if they arrive early or encounter issues.
How do you coordinate event vendors during setup?
Assign one person as the load-in coordinator with authority to make real-time decisions. Create a vendor check-in log with arrival times, setup completion times, and sign-off by the coordinator. Use a shared timeline so vendors know when the space will be ready for them. Communicate any delays immediately to downstream vendors. For entertainment vendors like photo booths, confirm they have adequate space, power, and internet before they begin setup. Conduct a final walkthrough 30 minutes before guest arrival to verify all equipment is functional and positioned correctly.

