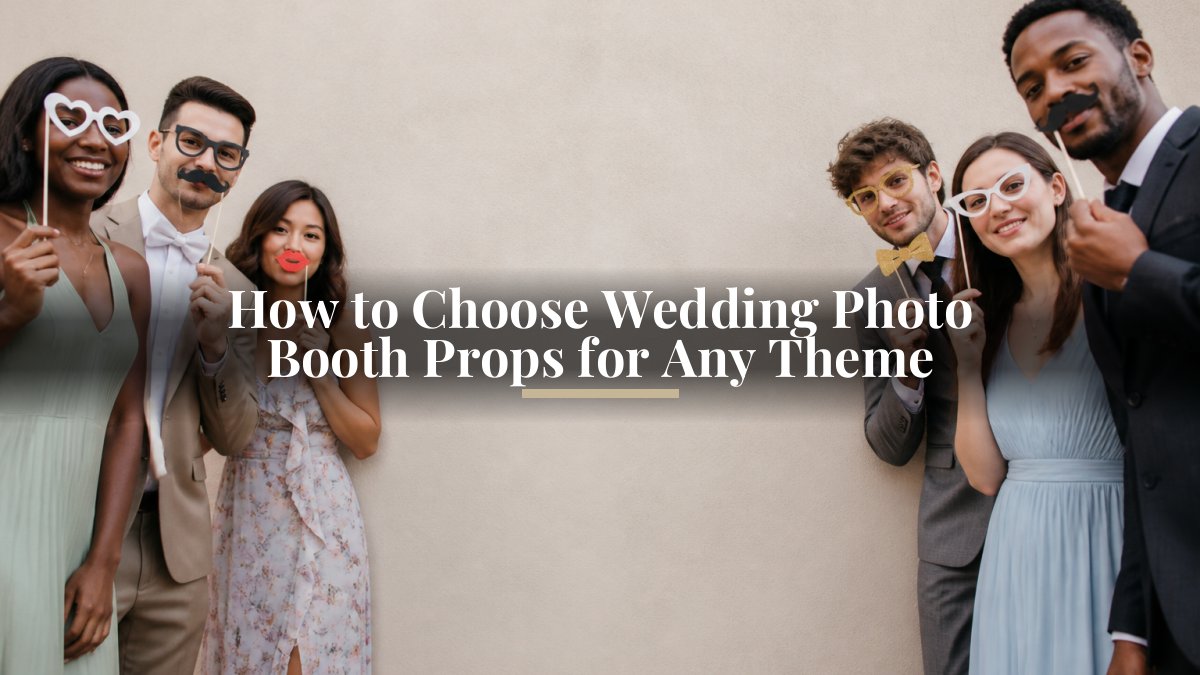
How to Choose Wedding Photo Booth Props for Any Theme
Last Updated: November 2, 2026
Quick Summary
Choose wedding photo booth props by first naming your theme's mood in three words, then locking a two- or three-color palette pulled from your invitations or florals. Pick one anchor prop per category, such as a sign, eyewear, headwear and a handheld piece, and test each against your backdrop. Plan roughly 12 to 18 props across those categories for a 150-guest night.
- Name your theme's mood in three words before buying any props.
- Lock a two- or three-color palette pulled from your invitations, florals or linens.
- Pick one anchor prop per category to avoid clutter and bottlenecks.
- For a 150-guest wedding with a four-hour booth window, aim for 12 to 18 props.
- Set up three stations: signs and frames, eyewear and headwear, and handheld pieces.
Table of Contents
- Why Wedding Photo Booth Props Matter for Themed Weddings
- Matching Wedding Photo Booth Prop Ideas to Your Theme
- Elegant Wedding Photo Booth Props That Stay Classy
- Wedding Photo Booth Signs: Sayings, Hashtags and Bilingual Options
- DIY Wedding Photo Booth Props You Can Make Yourself
- How Many Props to Order and How to Plan Guest Flow
- Buying Criteria: Durability, Accessibility and Budget
- Booking Your Wedding Photo Booth Date With Photobooth NYC
- Frequently Asked Questions
Why Wedding Photo Booth Props Matter for Themed Weddings
Props turn a photo booth from a side activity into the part of the reception guests talk about afterward. A well-chosen prop set gives guests a reason to step in front of the camera, and it gives the photos a look that matches the rest of your wedding. Without props, most guests pose the same way and the strips blur together.
Props also do quiet work for your theme. If you are still weighing whether props and a booth are worth the investment, see when booths add real value. A set of gold-trimmed signs and champagne flutes suggests an elegant evening before anyone reads a word. A set of mismatched vintage hats and handwritten signs suggests a relaxed, nostalgic day. The props you pick become part of the decor, and guests carry them into the photos they share.
The question is not whether props are worth it. It is which props fit your event and how many you need. The sections below show how to match props to your theme, what to buy, and how to plan so the booth keeps moving all night.
Matching Wedding Photo Booth Prop Ideas to Your Theme
Start with your theme, not with a shopping list. A prop that looks perfect at a barn wedding will feel out of place in a black-tie ballroom. The most reliable method is to choose three to five prop categories that repeat your wedding's colors and mood, then fill in details. Every theme needs a few core items: a sign or two, a set of glasses, and one or two statement pieces like a hat or a frame. A consistent palette matters more than having the most props.
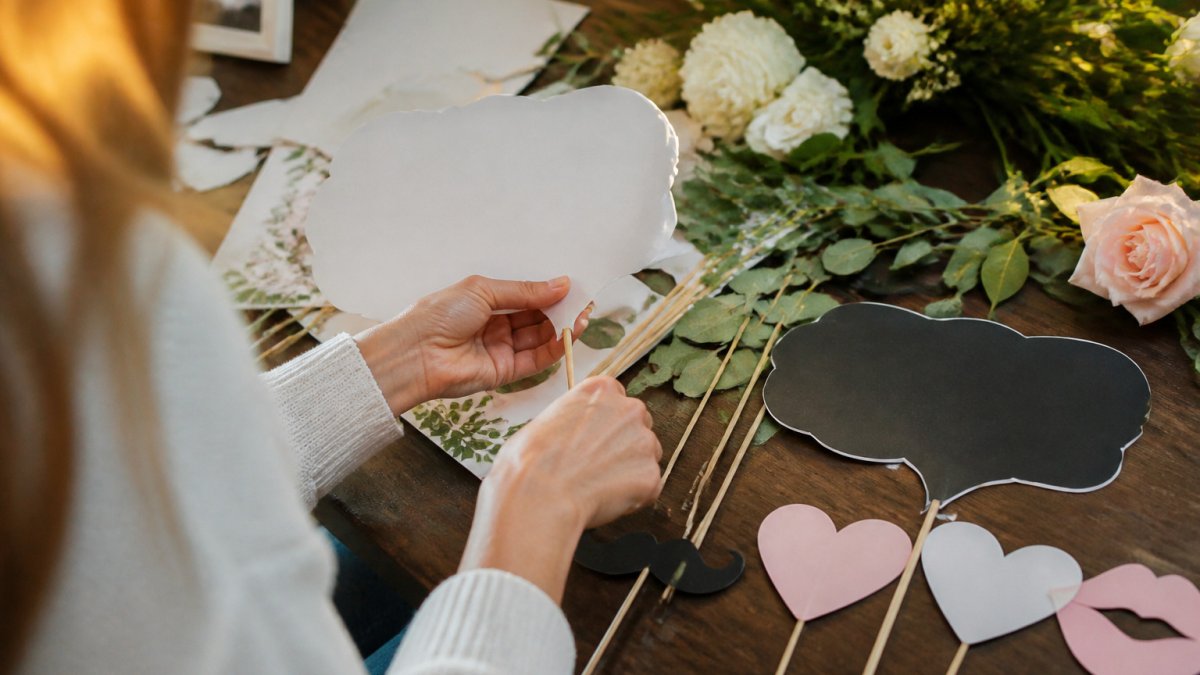
Use this four-step selection method before you buy or rent anything:
- Name the mood in three words. Examples: "warm, handmade, relaxed" or "clean, metallic, formal." Every prop you consider should fit at least two of the three words.
- Lock a two- or three-color palette. Pull the colors from your invitations, florals, or table linens so the props read as decor, not as a separate party supply.
- Pick one anchor prop per category. One sign, one eyewear style, one headwear style, one handheld statement piece. Duplicates within a category create clutter and bottlenecks.
- Test against your backdrop. Hold each prop against the backdrop or wall color you plan to use. High-contrast props photograph best; props that match the backdrop too closely disappear.
Botanical and Garden Weddings
Botanical themes reward greenery and soft, natural textures. Floral crowns in muted greens and creams, leaf-shaped cutouts, and signs with hand-lettered script fit the look. Pair a eucalyptus-toned palette with cream and sage signage. Avoid saturated jewel tones, which fight the greenery. A simple wooden frame wrapped in ivy reads as intentional decor rather than a novelty item.
Rustic and Country Weddings
Rustic weddings work well with natural materials and warm, hand-lettered signs. Wooden frames, burlap accents, and floral crowns fit without feeling forced. Oversized paper flowers and mason jar props add texture that photographs well against a backdrop of greenery. Keep colors earthy and avoid glossy finishes that clash with the mood. A few well-chosen pieces usually look better than a crowded table.
Vintage and Classic Weddings
Vintage weddings call for pieces with a bit of history in their styling: lace, pearls, cameo-style frames, and old-fashioned hats. Sepia-toned signs and classic script lettering reinforce the period feel. Vintage-inspired eyewear with thin metal frames suits this look better than bold plastic styles. A muted palette of ivory, blush, and antique gold keeps the set cohesive.
Glam and Black-and-Gold Weddings
Glam and black-and-gold weddings favor clean shapes and high contrast. Metallic signs, geometric frames, and sleek sunglasses in black or gold match the palette. Keep the number of colors low so the photos look intentional. A single script sign in white or gold can carry a whole glam theme. Matte and brushed-metal finishes photograph better than high-gloss pieces, which pick up glare.
Beach and Coastal Weddings
Beach and coastal themes call for light, breezy props that survive humidity and salt air. Consider shell-and-starfish cutouts, rope-wrapped frames, and signs in navy and sand tones. Laminated or sealed props hold up better outdoors than bare cardstock. Skip heavy wooden pieces that look out of place on sand and choose lightweight handheld signs instead.
Celestial and Star-Themed Weddings
Celestial themes pair well with deep navy, midnight blue, and metallic gold or silver accents. Star and moon cutouts, constellation-print signs, and simple metallic frames fit the mood. Keep the prop count modest so the metallic accents stand out. A single large moon or star frame often does more work than a table full of small pieces.
Whichever theme you choose, build a one-page prop plan before you buy: list each category, the color, the material, and where it will sit at the booth. For guidance on picking a booth style that fits your overall look, see how to choose a photo booth style. That plan prevents duplicate purchases and keeps the set visually consistent. If you would rather not source and maintain a prop collection yourself, a wedding package from Wedding Photo Booth Rental NYC can bring a ready-to-use setup into your venue.
Elegant Wedding Photo Booth Props That Stay Classy
Elegant props should feel refined in every photo. The line between elegant and tacky is usually about restraint: fewer items, better materials, and cleaner messages.
Choose props with matte or metallic finishes rather than bright plastic. Floral crowns in soft tones, pearl-trimmed frames, and simple champagne-bottle props stay polished. Avoid jokey signs that clash with a formal tone.
Quality shows up in the details. Props with sturdy construction hold their shape through a long night of handling. Thin, flimsy pieces bend and look worn by the second hour. When you compare options, look at the materials and finishes, not just the photos on a product page.
Wedding Photo Booth Signs: Sayings, Hashtags and Bilingual Options
Signs are the most-used props, so choose their wording with care. Keep sayings short enough to read at a glance. Phrases like "Just Married," "Mr. and Mrs.," or the couple's names work for almost every wedding.
A custom hashtag sign is practical as well as decorative. It encourages guests to tag their photos, which gives you a shared gallery of the night. Print the hashtag large and place the sign near the entrance to the booth.
Bilingual signs suit families and guest lists that speak more than one language. Pair each English phrase with its translation in the same font and color so the sign reads cleanly. Check spelling carefully, especially for shorter phrases where one wrong letter stands out.
DIY Wedding Photo Booth Props You Can Make Yourself
DIY props can save money and add a personal touch, but they take time. Plan for at least a few hours per prop, plus time for drying and assembly.
Some reliable projects:
- Handheld signs: Mount cardstock on wooden dowels or craft sticks. Use a clear sealant if the sign will be handled outdoors.
- Paper flower props: Cut tissue or crepe paper into petals, layer them around a central button, and attach each flower to a stick.
- Frames: Cut a hole in foam board or cardboard and wrap the edges in ribbon or washi tape.
- Mustache and lip props: Print on heavy card, laminate if possible, and attach to a dowel.
Test each prop in the booth lighting before the event. Colors that look bright on your table can wash out on camera. For printable templates, choose designs with thick lines and large lettering so they hold up at small sizes.
How Many Props to Order and How to Plan Guest Flow
Prop quantity depends on guest count, booth hours, and how many guests can pose at once. A simple starting formula: plan for one prop per two to three guests in the room at any given time, then add a small buffer for the most popular categories. Guests usually spend less time with props than you expect, but a small pile of the same item creates a bottleneck.
Work through a quick example. For a 150-guest wedding with a four-hour booth window, assume roughly 20 to 30 guests cycle through per hour during peak periods. That means you want enough variety that each group of four to six can pick distinct items without waiting. A practical target is 12 to 18 props total, spread across four categories: signs, eyewear, headwear, and handheld statement pieces. That gives each group a real choice without turning the table into clutter.
Spread props across categories so no single item gets fought over. Keep a separate station for signs, glasses, and hats so guests can grab what they want without waiting. A three-station layout works well:
- Station 1, Signs and frames: the largest items, placed at the back of the table so they do not block smaller props.
- Station 2, Eyewear and headwear: grouped together because guests usually try these on in sequence.
- Station 3, Handheld statement pieces: wands, faux florals, and small handheld signs that guests can grab on the way into the booth.
Plan the flow before the event:
- Place the booth where guests will pass naturally, not in a corner. High-traffic placement reduces the number of guests who never notice the booth.
- Keep the prop table within arm's reach of the booth entrance so guests can switch items quickly between poses.
- Assign a helper to restock props and reset the table between groups. A reset every 15 to 20 minutes keeps the table looking intentional rather than picked over.
- Set a rough time limit per group if lines form, such as two or three poses. A visible sign with the limit reduces awkward hovering.
- Plan for peak windows. Cocktail hour and the first 30 minutes after dinner are usually the busiest; make sure the prop table is fully stocked before each peak.
If your guest list is large, consider a second smaller prop station near the dance floor so guests can grab a prop without crossing the room. Good planning keeps the line moving and the photos fresh all night. On a larger night, a Signature Photo Booth Package with dual printers can keep prints flowing alongside the props, so the line moves even at peak.
Buying Criteria: Durability, Accessibility and Budget
When comparing prop sets, check four things. First, durability: look for sturdy materials, reinforced joints, and finishes that resist scratches and fingerprints. Props used outdoors need weather resistance, so ask how each piece holds up to humidity or a light rain.
Second, accessibility. Not every guest can hold a heavy sign or wear a tight headband comfortably. Include some lightweight options, props that rest on a table or stand, and items that fit a range of head sizes. Large-print signs also help guests who need more visibility.
Third, budget. When comparing prop sets, compare cost per prop and expected lifespan, not just the sticker price. A higher-quality set that lasts several events can cost less over time than a cheap set that breaks after one night.
Fourth, coverage. Confirm exactly what the set includes before you buy. Count the pieces against your guest list and theme.
Pricing for the photo booth itself depends on package, hours and date, and every fee is quoted upfront on the call. To see how renting works and what it includes, read how photo booth rentals work.
The four criteria below cover what to check when comparing prop sets.
| Criterion | What to check | Why it matters |
|---|---|---|
| Durability | Sturdy materials, reinforced joints, scratch-resistant finish | Props must survive a long night of handling |
| Accessibility | Lightweight options, table-rest or stand props, fits a range of head sizes | Not every guest can hold heavy signs or wear tight headbands |
| Budget | Cost per prop and expected lifespan | A sturdier set that lasts several events can cost less over time |
| Coverage | Count pieces against guest list and theme | Confirms the set fits your event before you buy |
Booking Your Wedding Photo Booth Date With Photobooth NYC
Props work best when the booth itself runs smoothly. At Photobooth NYC, we provide a trained attendant on site all night, custom-branded overlays and templates, and instant digital delivery to guests' phones plus prints. We serve Manhattan, Brooklyn, Queens, Staten Island, Nassau County and Suffolk County.
If you are planning a wedding in one of those areas, check availability for your date early, especially for peak months. Share your theme and guest count when you reach out so we can recommend a package that fits. For a setup built around your theme, you can also look at a Premium Photo Booth Package with pro camera and studio lighting. Check availability for your wedding date today.
Frequently Asked Questions
What props should you put in a wedding photo booth?
A balanced set usually includes a few signs, a mix of glasses and hats, some floral or greenery pieces, and a handful of playful items such as oversized frames or champagne props. Choose props that match your color palette and guest mix rather than buying everything in a themed kit. Keep a few neutral options so guests of all ages join in. Fewer, well-chosen props tend to photograph better than a crowded table, and replacing worn pieces during the night keeps the setup looking fresh.
How many props should you provide for a wedding photo booth?
Plan roughly one prop per guest for a small wedding, and scale up for larger guest counts while keeping variety high. Props get used most in the first hours of the reception, so a larger stock early in the evening helps prevent empty bins. Replenish signs and glasses as they wear down, and count pieces at the start and end of each session.
How do you choose photo booth props for a wedding theme?
Start with your wedding colors, venue style and the level of formality, then pick props that fit those three things. A rustic barn wedding suits burlap, wildflowers and wooden signs, while a black-and-gold ballroom wedding works better with metallic accents and clean typography. Test a few pieces against your backdrop before committing, since a prop that looks fun in a catalog can clash with your decor.
Can you make DIY wedding photo booth props instead of renting or buying them?
Yes. Printed sign templates on cardstock, mounted on wooden sticks, are one of the simplest DIY options, and paper flowers or foam shapes can be cut and glued in an afternoon. Build a few sturdy pieces rather than many fragile ones, since props handled by dozens of guests need to hold up. Label each DIY item with a short note on how to use it so guests do not mishandle it.

